One Dollar 2020 Eureka! Australia's Gold Rush, Coin from Australia - detailed information
| ||||||
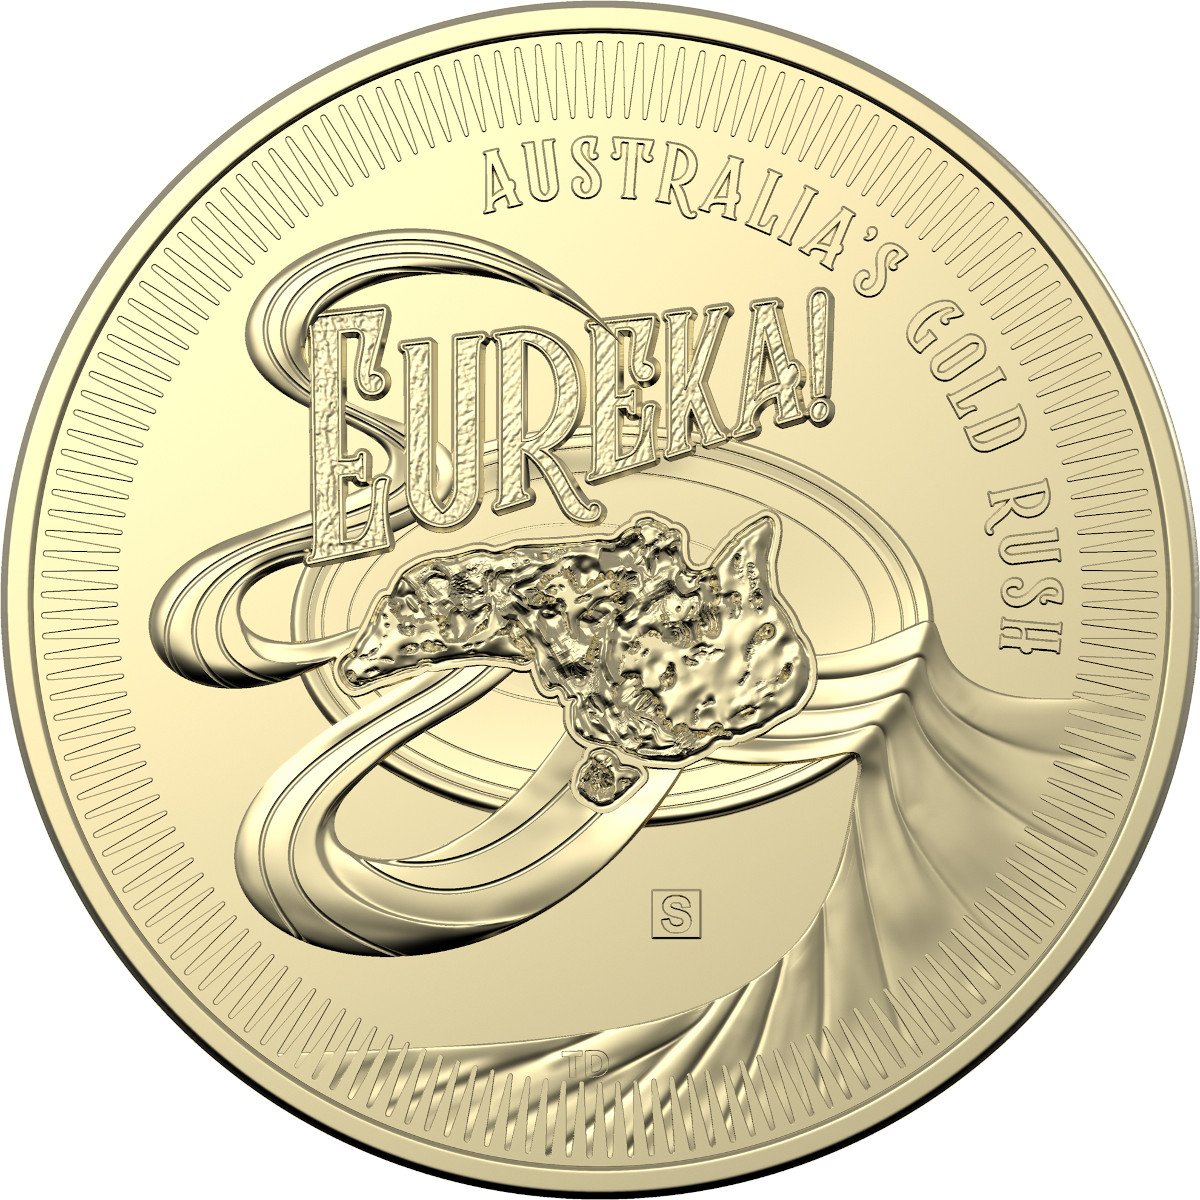
The one dollar coin circulating denomination (written as $1) was introduced in Australia in 1984, replacing the earlier banknotes. The original reverse design by Stuart Devlin featuring five kangaroos - known in Australia as the "Mob of Roos" design - has not been changed since its introduction. The denomination is also used by both the Royal Australian Mint and the Perth Mint to issue an extensive range of collector coins, which are legal tender in Australia - such as this one. The Royal Australian Mint released these non-circulating collector coins in January 2020 to pay tribute to the era of Australia’s famed gold rush, which started in 1851. New South Wales was the scene of the country’s initial discovery of large deposits of gold when Edward Hammond Hargraves, a gold prospector, claimed to have found gold in 1851, effectively starting an Australian gold rush. Before the end of that year, the gold rush spread to many other parts of the state where gold had been found, not just to the west, but also to the south and north of Sydney. When the rush began in Ballarat, then a small town in Victoria, diggers discovered it was indeed a prosperous gold field. The territory’s lieutenant-governor paid a visit to the site and watched five men uncover a staggering 136 ounces of gold in just one day. The settlement of Mount Alexander was even richer than Ballarat, as it was discovered that gold was sitting just under the surface, the shallowness allowing diggers to unearth huge gold nuggets easily. In only seven months, 2.4 million pounds of gold was transported from Mount Alexander to nearby capital cities. Ultimately, the gold rushes caused a massive influx of people from overseas. Between 1852 and 1860, 290,000 people alone migrated to Victoria from the British Isles, with 15,000 coming from other European countries, and 18,000 emigrated from the United States where there had been a similar gold rush in California in 1849. The Australian gold rushes went on to fundamentally change the convict colonies into more progressive cities with the influx of free immigrants. One particular import due to the gold rush was that of camels which were believed ideal for the transport of provisions. The remote desert landscapes of Western Australia needed supplies, and camels were ideal for the job. Camels were imported into Australia by Afghan cameleers and were proven to be crucial to Western Australia’s gold industry (thus the image on the packaging). Today, Australia is the second-largest producer of gold in the world. The Aluminium-Bronze coins have the same specifications as the circulating $1; there is also a silver version. All versions were issued with a mint mark or privy mark. No coins of this type were released into circulation. | ||||||
| ||||||
| ||||||
| ||||||
| ||||||
| ||||||
| ||||||
| ||||||
 |
| The Definitive Guide to Australian Silver Coins |
| Variety | Mint mark C, in sets | |
|---|---|---|
| Images |

|

|
| Mintage | Issued: unknown | |
| Details | A small letter C in relief in the lower right of the reverse design. C is for Canberra, the federal capital of Australia, where the Royal Australian Mint is located. The letter is called a "mint mark" by the mint and is treated differently from the other letters which are considered "privy marks". | |
| In Set |
Eureka! Australia's Gold Rush 2020 $1 Mintmark & Privy Mark Uncirculated Coin Se, mintage unknown
4 coins: $1 Eureka! C mint mark, $1 Eureka! B privy mark, $1 Eureka! M privy mark, $1 Eureka! S privy mark | |
| Variety | Mint mark C, in card | |
| Mintage | Issued: unknown | |
| Details | Individually carded coin, with a selection of card illustration styles each themed around a gold-rush related story. Five different cards were issued, featuring: - The Adelaide Ingots and Pounds | |
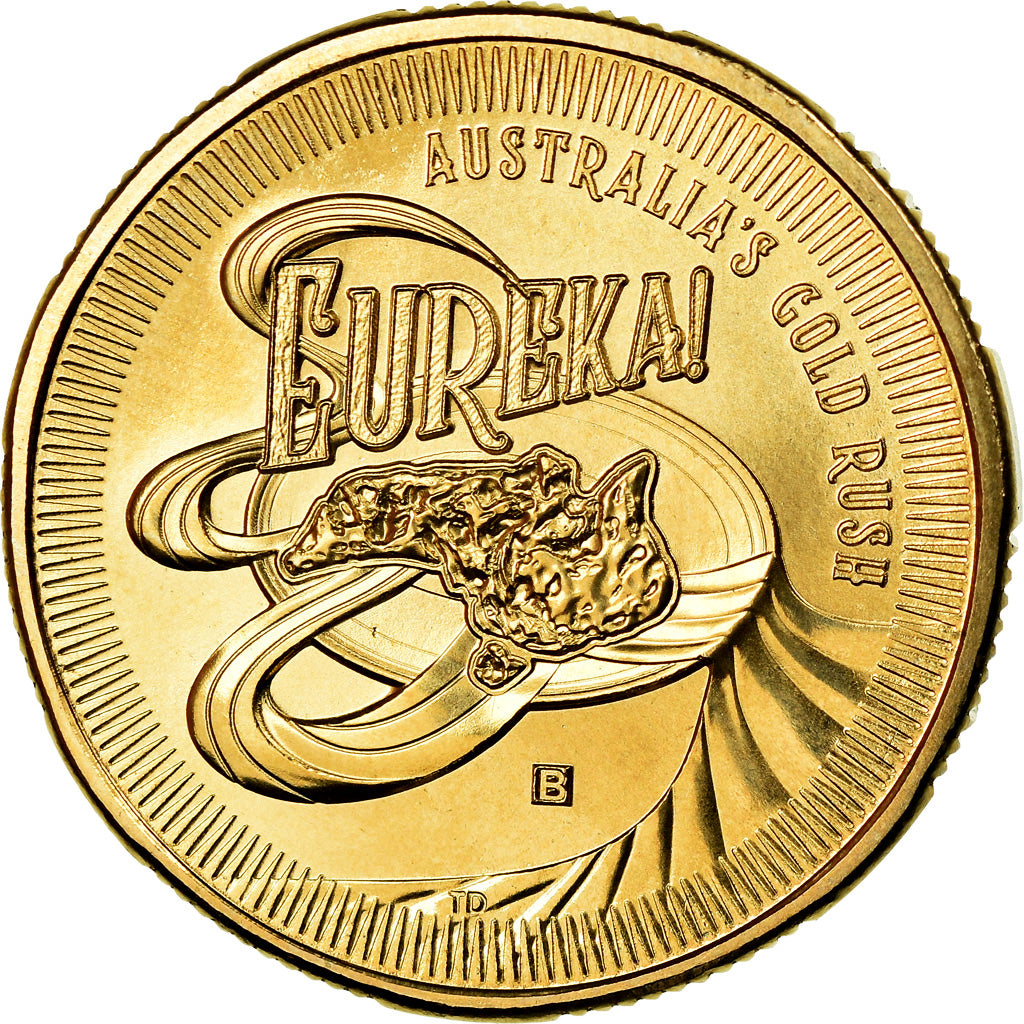
| Variety | Privy mark B | |
| Images |
|
|
| Mintage | Issued: unknown | |
| Details | A small letter B (for Brisbane, the capital of Queensland) incuse within a raised square in the lower right of the reverse design. | |
| In Set |
Eureka! Australia's Gold Rush 2020 $1 Mintmark & Privy Mark Uncirculated Coin Se, mintage unknown
4 coins: $1 Eureka! C mint mark, $1 Eureka! B privy mark, $1 Eureka! M privy mark, $1 Eureka! S privy mark | |
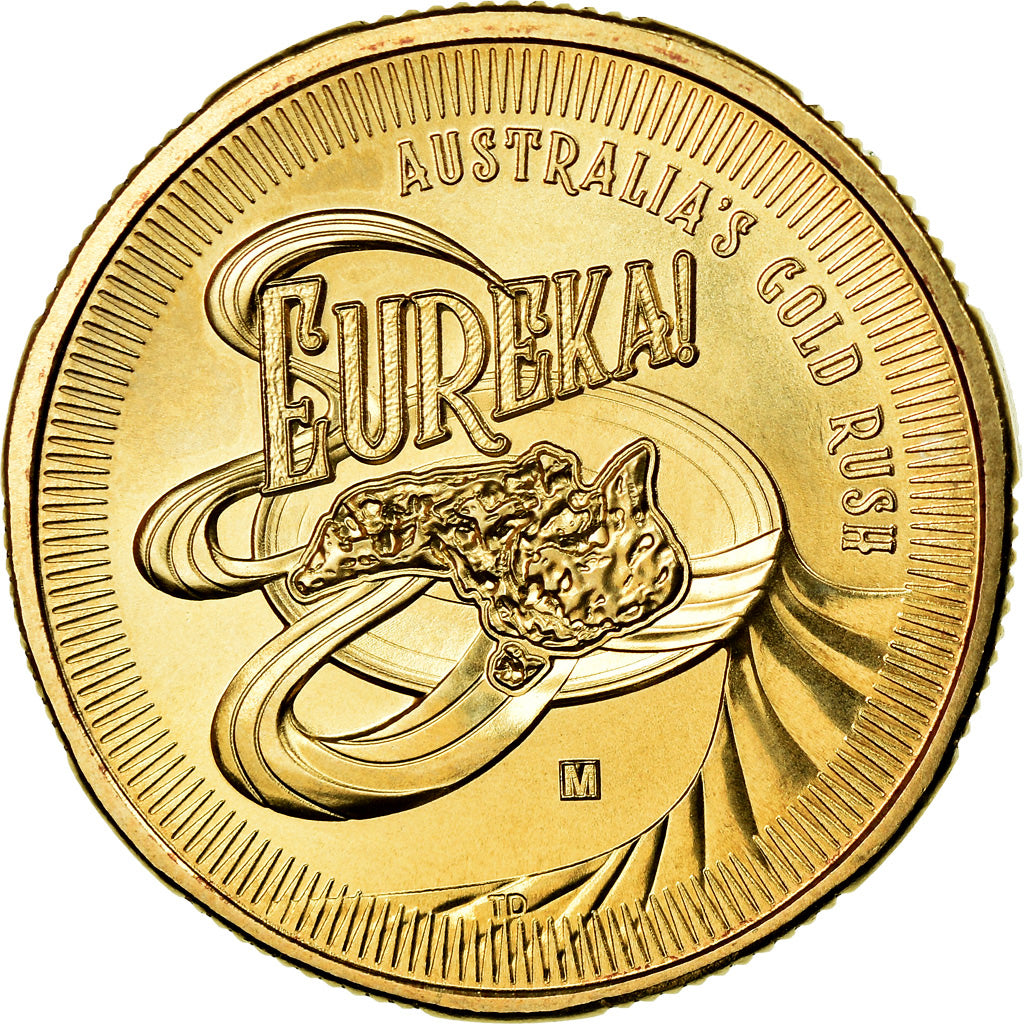
| Variety | Privy mark M | |
| Images |
|
|
| Mintage | Issued: unknown | |
| Details | A small letter M (for Melbourne, the capital of Victoria) incuse within a raised square in the lower right of the reverse design. | |
| In Set |
Eureka! Australia's Gold Rush 2020 $1 Mintmark & Privy Mark Uncirculated Coin Se, mintage unknown
4 coins: $1 Eureka! C mint mark, $1 Eureka! B privy mark, $1 Eureka! M privy mark, $1 Eureka! S privy mark | |
| Variety | Privy mark S | |
| Images |
|
|
| Mintage | Issued: unknown | |
| Details | A small letter S (for Sydney, the capital of New South Wales) incuse within a raised square in the lower right of the reverse design. | |
| In Set |
Eureka! Australia's Gold Rush 2020 $1 Mintmark & Privy Mark Uncirculated Coin Se, mintage unknown
4 coins: $1 Eureka! C mint mark, $1 Eureka! B privy mark, $1 Eureka! M privy mark, $1 Eureka! S privy mark | |
| Variety | Counterstamp P | |
| Mintage | Issued: unknown | |
| Details | Counterstamp P for Perth (capital of Western Australia) in a circle and not square like the privy marks. Struck at the Perth ANDA Money Expo. In card. | |
| Variety | Silver Proof with gold plating | |
| Images |

|

|
| Mintage | Issued: unknown. Mintage limit: 5,500 | |
| Material | 0.999 Silver | |
| Details | 11.66 g of 99.9% silver, with C mint mark and selective gold plating of the two nuggets depicted on the reverse. Issued individually boxed. | |
The same reverse design was also used on a gold $10 (1/10 oz) coin.
 |
| Buy Austrian Silver Philharmonics Online |
| Country | Australia |
|---|---|
| Currency | Australian Dollar |
| Coin Type | One Dollar, NCLT |
| Issued | 2020 |
| Monarch | Queen Elizabeth II |
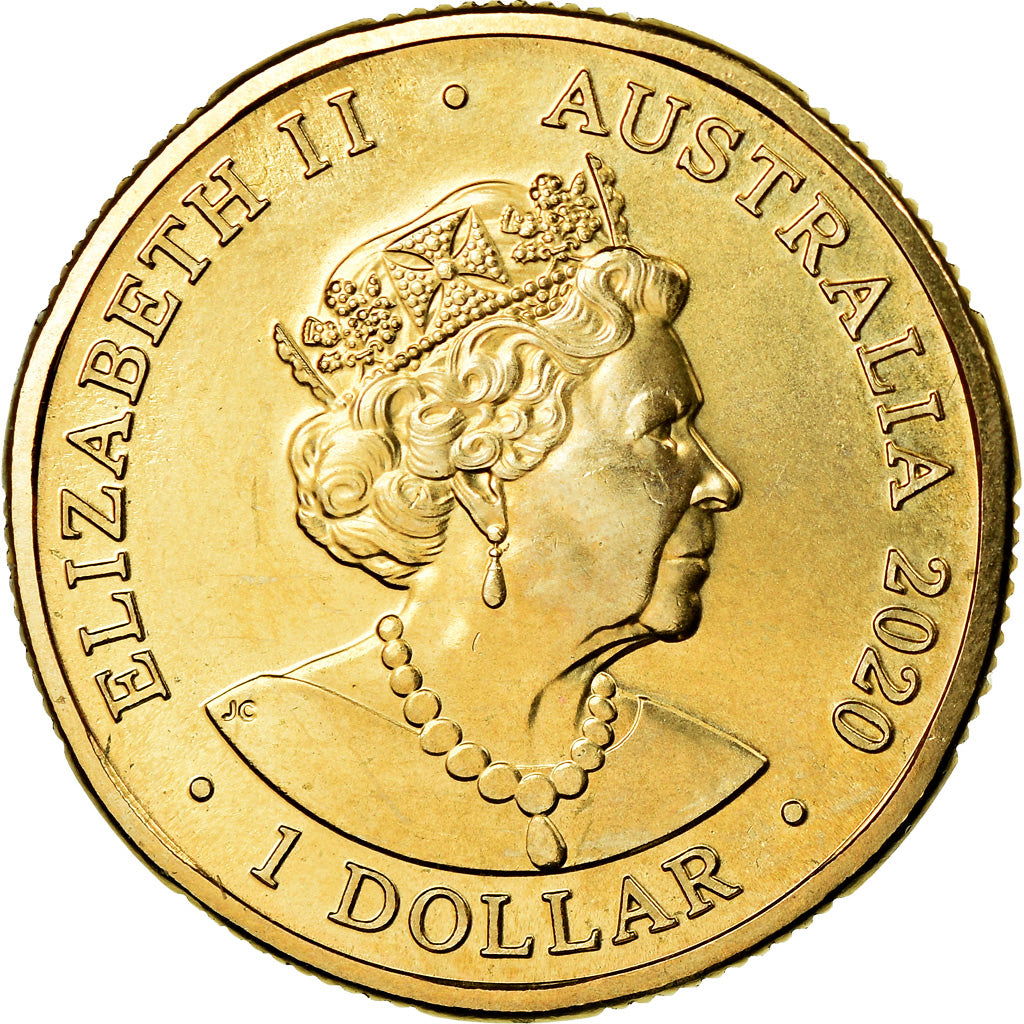
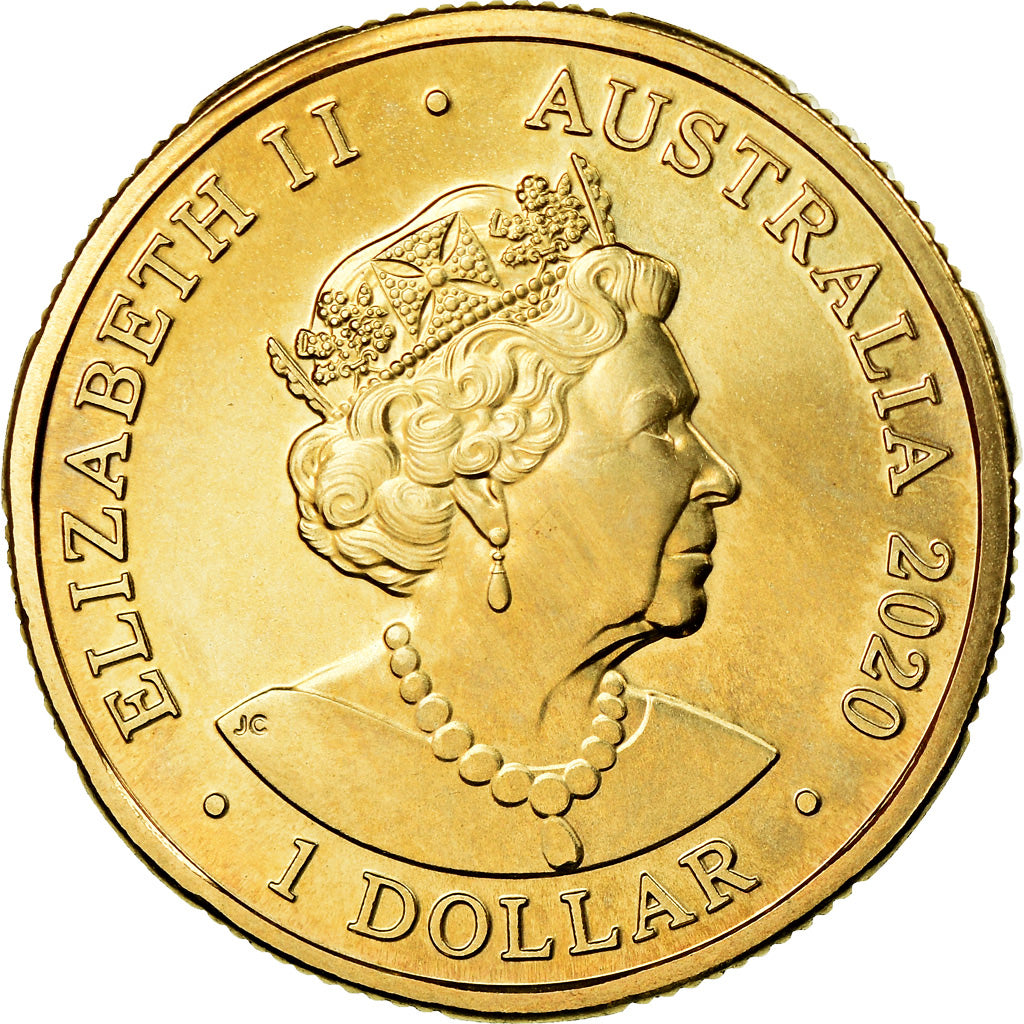
| Effigy | Queen Elizabeth II - Portrait by Jody Clark (Uncouped version) |
| Face Value | 1 (x Dollar) |
| Mintage | unknown |
| Current | Yes |
| Material | Aluminium Bronze |
| Designer | Tony Dean |
| Technology | Milled (machine-made) |
| Shape | Round |
| Orientation | Medal Alignment (Axis 0) |
| Size | 25.0000 mm |
| Mass | 9.0000 g |
| OCC ID | BYNK-ODDC-GRYQ-OPQM |
 Search for Australia: One Dollar 2020 Eureka! Australia's Gold Rush on eBay
  |
| Buy gold and silver bullion online! |
| Image | Details |
|---|---|
|
|
Australia, Dollar 2020 - Royal Australian Mint - Eureka - B
Copyright: NumisCorner.com Source |
|
|
Australia, Dollar 2020 - Royal Australian Mint - Eureka - B
Copyright: NumisCorner.com Source |
|
|
Australia, Dollar 2020 - Royal Australian Mint - Eureka - M
Copyright: NumisCorner.com Source |
|
|
Australia, Dollar 2020 - Royal Australian Mint - Eureka - M
Copyright: NumisCorner.com Source |
|
|
$1 2020 Eureka Silver Proof Coin
Copyright: Royal Australian Mint Source |
|
|
$1 2020 Eureka Silver Proof Coin
Copyright: Royal Australian Mint Source |
|
|
Eureka! Australia's Gold Rush 2020 $1
Copyright: Royal Australian Mint Notes: S privy mark. Source |

|
Eureka! Australia's Gold Rush 2020 $1
Copyright: Royal Australian Mint Notes: M privy mark. Source |

|
Eureka! Australia's Gold Rush 2020 $1
Copyright: Royal Australian Mint Notes: B privy mark. Source |
|
|
Eureka! Australia's Gold Rush 2020 $1
Copyright: Royal Australian Mint Notes: C mint mark. Source |
|
|
Eureka! Australia's Gold Rush 2020 $1
Copyright: Royal Australian Mint Notes: Common obverse. Source |